 So with Home Assistant announcing their intention to depreciate the generic linux installation of Home Assistant (now on-hold due to an outcry) I am looking at migrating my setup to use Proxmox and then setup Home Assistant Supervised (formerly known as Hass.io) in a virtual machine.
It really suited me having the generic linux install as then I could have other docker containers etc on the same host machine without causing problems.
Anyway… that was fun while it lasted.
I have been playing around with Proxmox for some time. I purchased a cheapie mini-pc from Alibaba (XCY) along with an SSD and I was good to go.
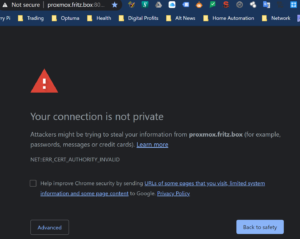
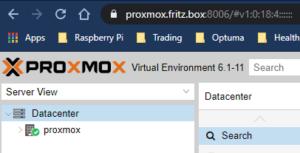
However, one of the things that has ALWAYS bothered me is that I have never had Chrome ‘happy’ about the self signed certificates and I was getting browser warnings whenever I opened up the proxmox management UI. As you can see the above graphic is not showing the ‘Not-Secure’ message now so I thought I’d share how I solved this. It’s not that complicated and I’m not going to go into all the ins and outs of this anyway. Suffice to say it’s working…. now…
First, I tried just creating a self signed certificate in chrome for the proxmox interface. This is done by clicking on the insecure message in the address bar and exporting the certificate. Then in Chrome Settings>Security>Advanced>Manage Certificates you can use the Wizard to import the certificate.
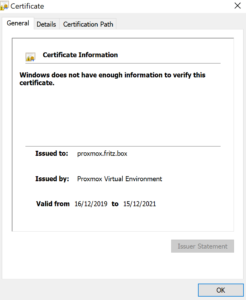 When this is done if you click on the certificate and view it you see the error message that “Windows does not have enough information to verify this certificate” and there is seemingly nothing you can do about it.
When you google that error you eventually find out there is an issue with the certificate authority and then your eyes glaze over.
Anyway, the way to correct this is to create your own certificate authority. It’s not 100% straightforward doing this but here is what worked for me.
I installed mkcert from this github page here. There is a pre-requisite before you can run mkcert – Chocolatey which you can get here (Stop laughing!)
Once you have these both installed it’s pretty straightforward.
Mkcert will create a new local CA and install it in the system trust store.
Installing chocolatey, mkcert and running were both done as an admin in Windows PowerShell.
Install Chocolatey with this command
Set-ExecutionPolicy Bypass -Scope Process -Force; [System.Net.ServicePointManager]::SecurityProtocol = [System.Net.ServicePointManager]::SecurityProtocol -bor 3072; iex ((New-Object System.Net.WebClient).DownloadString(‘https://chocolatey.org/install.ps1’))
Then mkcert (note I used proxmox.fritz.box when I made my certificate)
$ mkcert -install
Created a new local CA at "/Users/filippo/Library/Application Support/mkcert" 💥
The local CA is now installed in the system trust store! ⚡️
The local CA is now installed in the Firefox trust store (requires browser restart)! 🦊

$ mkcert example.com "*.example.com" example.test localhost 127.0.0.1 ::1
Using the local CA at "/Users/filippo/Library/Application Support/mkcert" ✨

Created a new certificate valid for the following names 📜
 - "example.com"
 - "*.example.com"
 - "example.test"
 - "localhost"
 - "127.0.0.1"
 - "::1"

The certificate is at "./example.com+5.pem" and the key at "./example.com+5-key.pem" ✅
I created the certificate for proxmox.fritz.box which is my proxmox domain I specified when I installed proxmox.
Then these need to be copied to Proxmox. See this doc.
cp fullchain.pem /etc/pve/nodes/<node>/pveproxy-ssl.pem
cp private-key.pem /etc/pve/nodes/<node>/pveproxy-ssl.key
You should then be able to connect with not warnings.
The certificate can also be copied to another computer. See the mkcert instructions for full details of how to do that.